


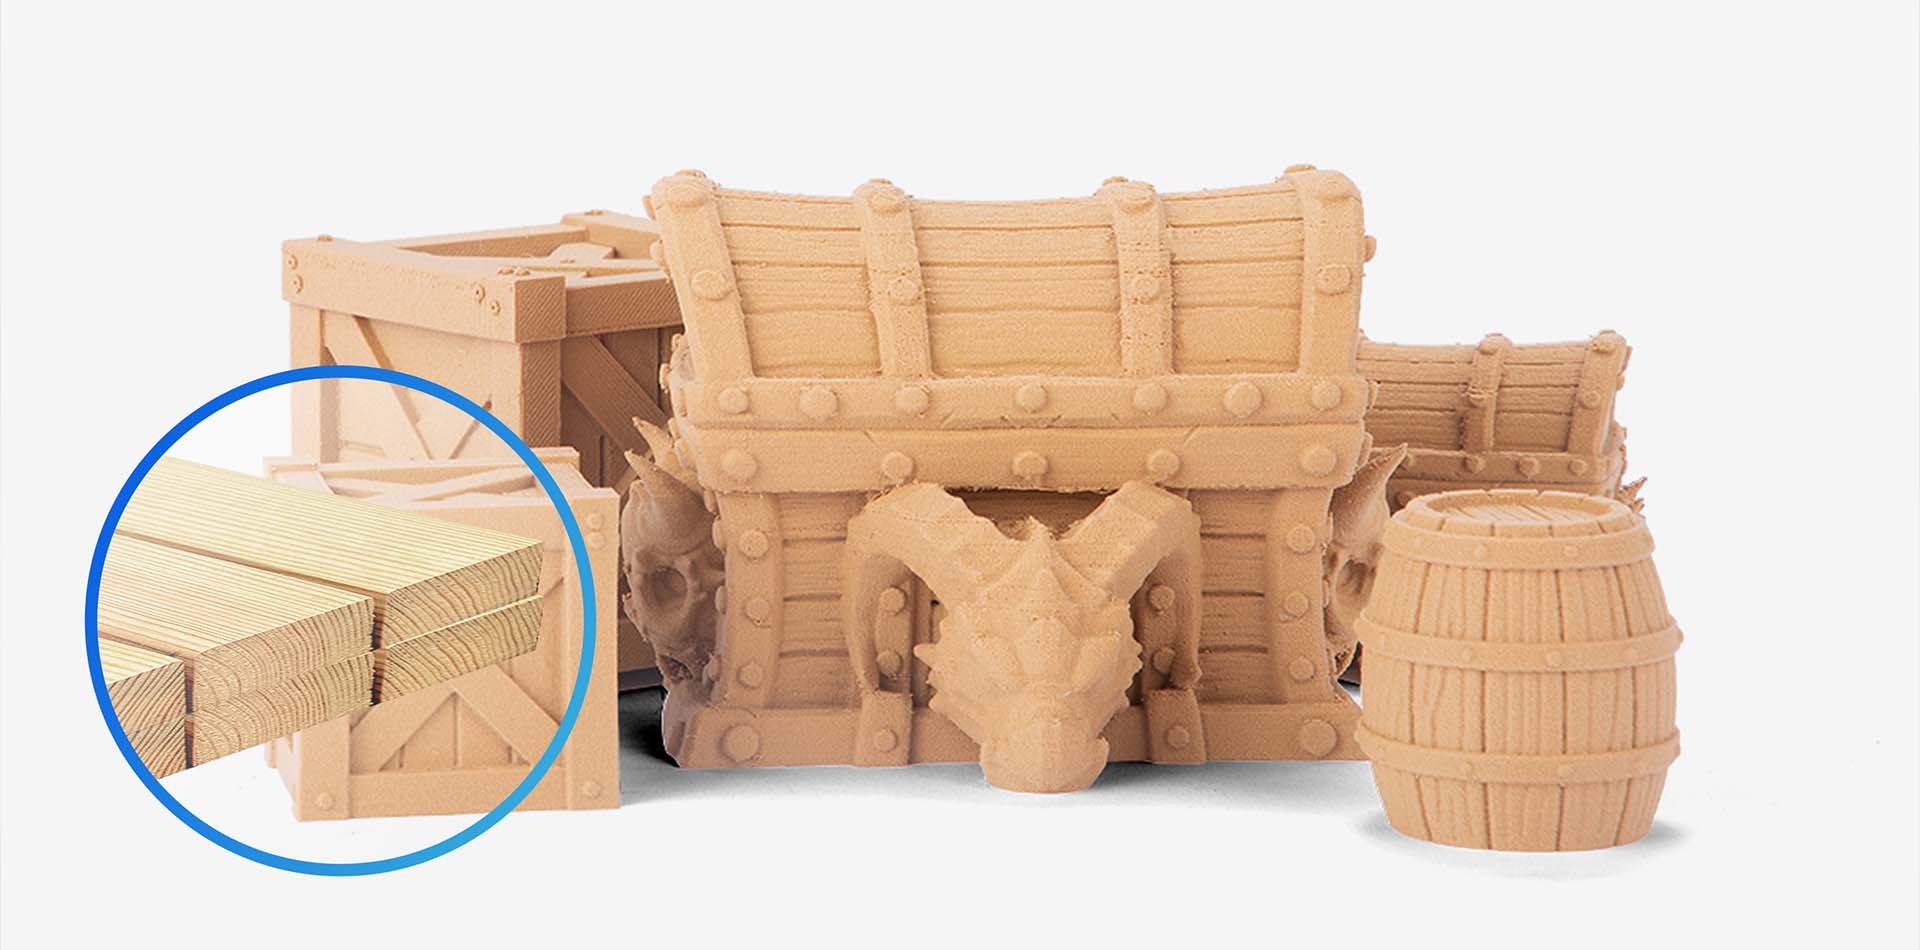
Wood-filled composite filaments bring a natural, tactile aesthetic to 3D-printed objects, mimicking the look and feel of wood for projects like furniture prototypes, decorative carvings, or artistic models. These filaments, typically PLA infused with wood particles, offer a unique grain-like texture but require specific techniques to achieve convincing results. For hobbyists using entry-level 3D printer, this guide provides practical steps to master wood-filled filaments and create stunning wood-like prints in home workshops.
Understanding Wood-Filled Filaments
Wood-filled filaments combine PLA with fine wood particles (e.g., bamboo, cork, or cedar) to produce a textured, matte finish resembling natural wood. Key characteristics include:
- Aesthetic Appeal: The wood content creates a grainy texture and earthy tones, ideal for organic designs. Some filaments allow staining for varied hues.
- Printability: Similar to standard PLA but slightly abrasive due to wood particles, requiring durable printer components.
- Strength and Flexibility: Slightly less rigid than pure PLA, with a brittle nature in thin sections, suitable for non-structural decorative parts.
These filaments vary in wood content (10–40%), affecting texture and print difficulty. Higher wood content enhances realism but increases abrasiveness.
Choosing the Right Wood-Filled Filament
Select a 3D printer filament based on your project’s needs:
- Texture and Color: Choose filaments with specific wood types (e.g., walnut for dark tones, birch for lighter shades) to match your design. Higher wood content (20–30%) yields more pronounced grain.
- Application: Use for decorative items like picture frames or furniture mockups. Avoid load-bearing parts due to reduced strength.
- Printer Compatibility: Ensure your hotend supports 190–220°C and can handle mild abrasiveness. A hardened steel nozzle is recommended for frequent use.
For beginners, a mid-range wood-filled PLA (15–20% wood content) balances ease of printing with a convincing wood-like finish.
Optimizing Print Settings for Wood-Like Results
Wood-filled filaments require careful settings to enhance their grainy texture and avoid defects:
- Nozzle Temperature: Set to 190–210°C to prevent scorching wood particles, which can darken the print or clog the nozzle. Higher temperatures (220°C) may smooth the texture, reducing grain visibility.
- Bed Temperature: Use 50–60°C for good adhesion. Apply blue painter’s tape or a glue stick on a PEI or glass bed to prevent lifting.
- Print Speed: Moderate speeds (30–50 mm/s) ensure consistent extrusion of wood particles. Slow outer wall speed (20–30 mm/s) enhances grain definition.
- Layer Height: Use 0.2–0.3 mm for a balance of detail and texture. Thinner layers (0.1 mm) may reduce grain visibility, while thicker layers exaggerate it unevenly.
- Cooling: Moderate cooling (50–70% fan speed) preserves texture while ensuring layer adhesion. Excessive cooling can cause brittle layers.
- Retraction: Set to 1–2 mm with a speed of 30–40 mm/s to minimize stringing, which disrupts the wood-like surface.
Print a test piece, like a small plank or medallion, to dial in settings and evaluate texture before larger projects.
Design Tips for Realistic Wood Grains
Part geometry enhances the wood-like aesthetic:
- Surface Design: Incorporate gentle curves or flat panels to mimic natural wood grain. Avoid sharp edges, which can highlight layer lines and break the illusion.
- Infill and Walls: Use 15–20% infill with a gyroid pattern for lightweight parts. Increase wall thickness (1.5–2 mm) for a solid, wood-like feel.
- Orientation: Orient parts to align visible surfaces with the print bed, emphasizing layer lines as faux grain. Vertical orientation can mimic wood’s natural striations.
- Detail Placement: Add subtle engravings or textures in CAD to simulate knots or grain patterns, enhancing realism.
Use CAD software to preview how layer lines contribute to the grain effect, adjusting orientation as needed.
Post-Processing for Enhanced Wood Aesthetics
Post-processing refines the wood-like appearance:
- Sanding: Sand with 400–800 grit sandpaper to smooth layer lines and enhance texture. Wet sanding reduces dust and preserves wood particles.
- Staining: Apply wood stain (e.g., oak or walnut) to deepen or vary color. Test on a scrap piece to ensure even absorption without clogging the texture.
- Sealing: Use a matte clear coat or polyurethane to protect the surface and mimic polished wood. Avoid glossy finishes to maintain the natural look.
Test post-processing on small prints to ensure treatments enhance rather than obscure the grain effect.
Practical Tips for Home Workshops
- Nozzle Maintenance: Use a hardened steel nozzle to resist wear from abrasive wood particles. Clean the nozzle after each print to prevent clogs.
- Filament Storage: Store in airtight containers with desiccants to avoid moisture, which causes bubbling and inconsistent texture.
- Calibration: Regularly calibrate the extruder and bed for even deposition, critical for uniform grain appearance.
- Safety: Print in a ventilated area, as wood-filled filaments may emit mild fumes from organic particles.
Troubleshooting Common Issues
- Clogged Nozzle: Lower temperature or clean the nozzle if wood particles cause blockages. Use a larger nozzle (0.6 mm) for high-wood-content filaments.
- Uneven Texture: Adjust print speed or layer height to ensure consistent particle distribution. Check filament quality for uniformity.
- Poor Adhesion: Increase bed temperature or apply adhesion aids. Clean the bed to remove residue.
Conclusion
Wood-filled composite filaments enable hobbyists to create 3D-printed objects with the authentic look and feel of wood, perfect for decorative projects. By selecting the right filament, optimizing print settings, designing for grain-like textures, and applying targeted post-processing, you can achieve professional results on entry-level printers. Start with small test prints, refine your technique, and craft stunning wood-like models in your home workshop.